


The treatment procedure for the application of veneers with UNIQSMILE®
1. initial consultation and preliminary examination:
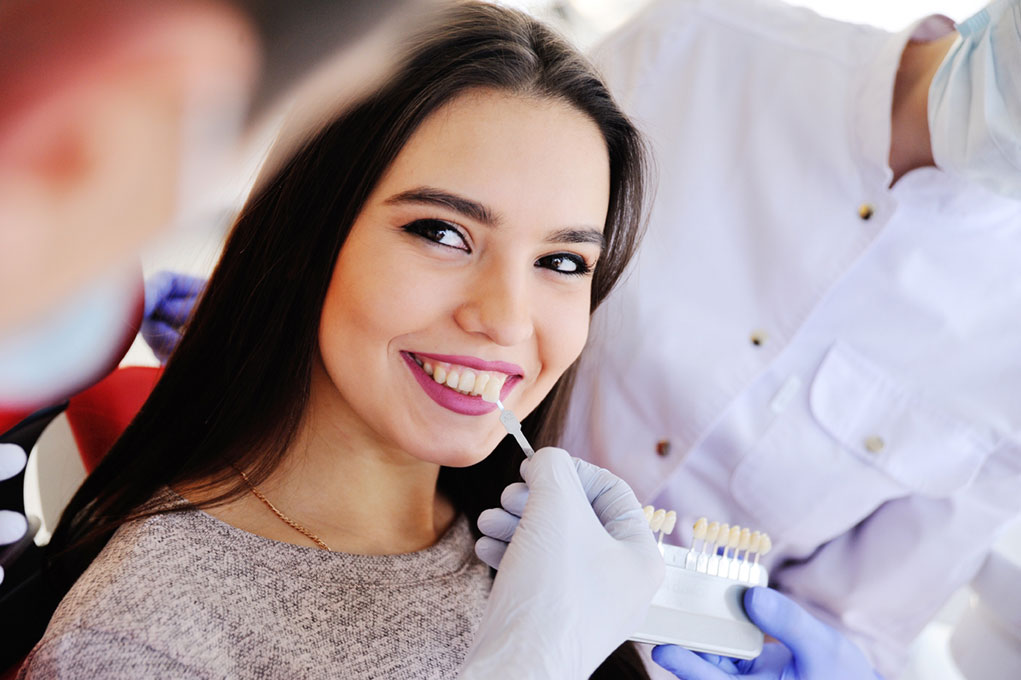
We start by discussing your desired result and the current condition of your teeth. We will then inform you about the options and the individual steps of treatment with veneers.
2. pre-treatment:
First, we carry out a thorough tooth cleaning and remove all dental plaque. The initial situation of your teeth is then documented photographically.
3. preparation:
With a conventional ceramic veneer, the Prep Veneer, the tooth to be restored is lightly ground down. Exactly how much tooth substance is removed depends on the degree of discoloration or the severity of the tooth misalignment, among other factors. This is usually done under local anesthesia.
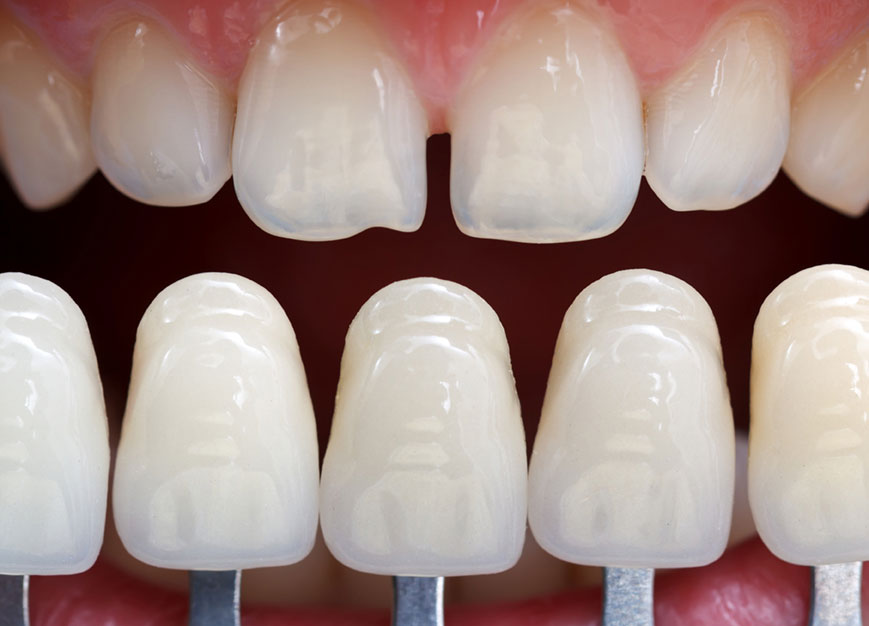
As non-prep veneers are extremely thin ceramic shells, preparation is generally not required. The tooth substance therefore remains intact.
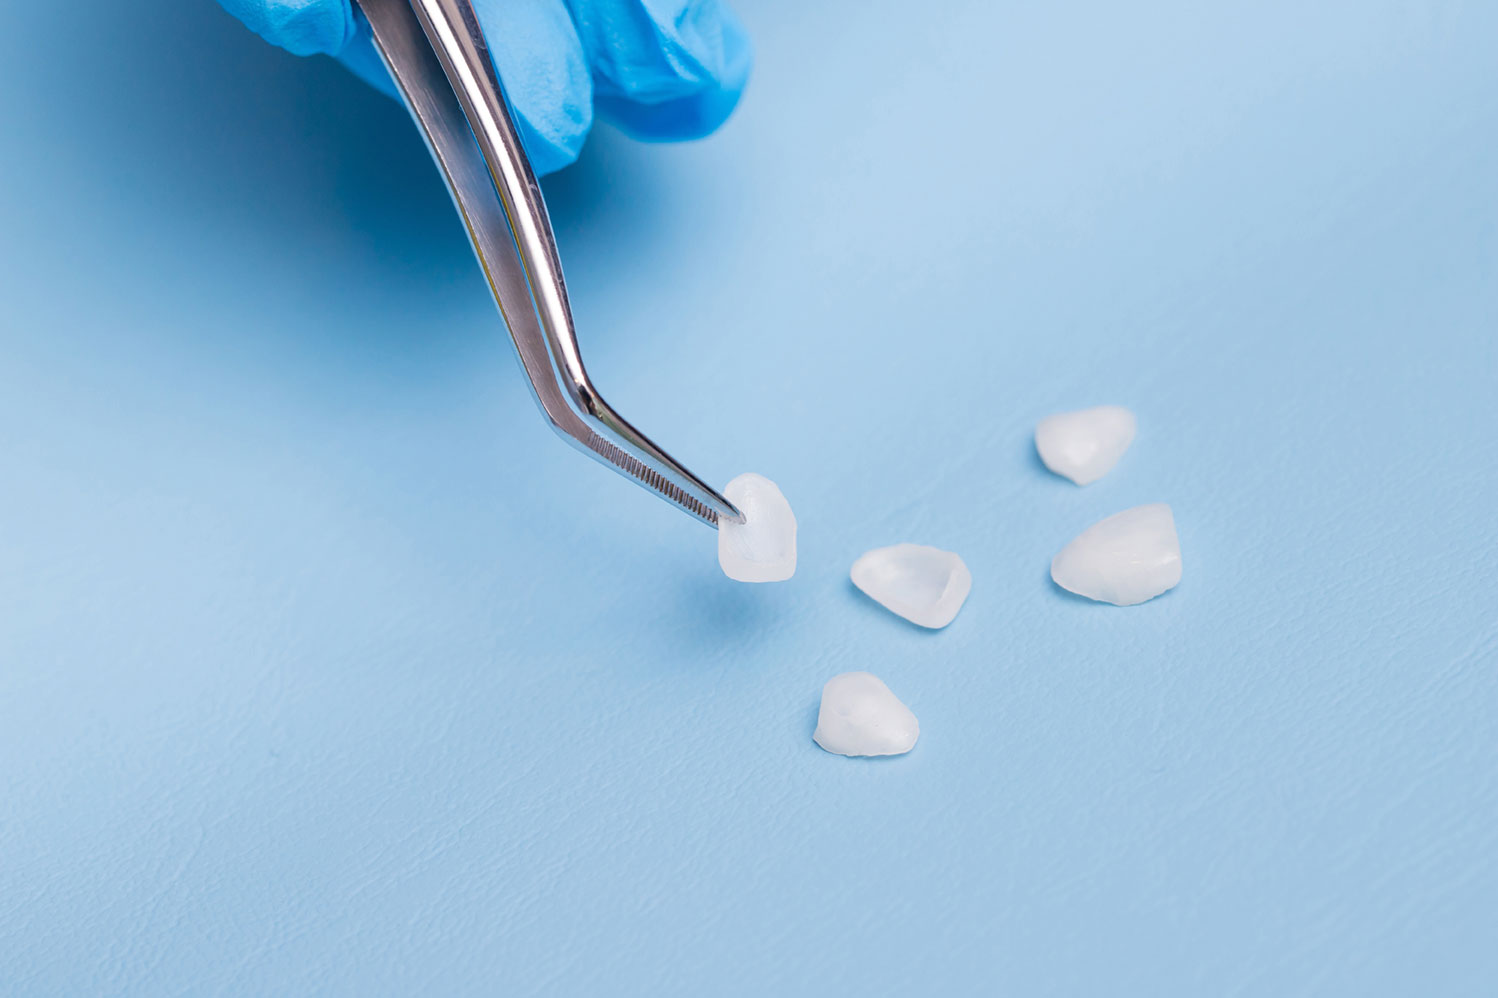
4. impression and production:
A high-precision digital impression is then taken so that the dental technician can produce the veneers to fit your teeth perfectly. This method is gentle, fast and virtually contact-free. This makes digital impressions ideal for patients with gag reflexes.
With Prep Veneers, a temporary plastic veneer is placed on the ground tooth for the short transition period until it is fitted.
5. fitting and gluing:
Your finished ceramic veneers are permanently bonded using a plastic adhesive and then cured with a blue light lamp for an optimum fit and aesthetic appearance. This procedure ensures long durability and is gentle on the tooth structure.
You can then immediately enjoy your new, confident smile.


